


|
Projects |
|
|
|
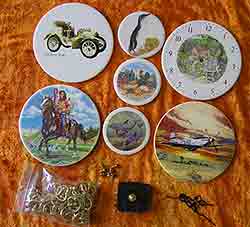
Four Simple Projects Key Hanger, Teapot Stand, Wall Plaque and Clock 3.5" Tile for Key Hanger 6" tiles for Teapot Stand, Wall Plaque and Clock. |
Step 1:
Select a suitable piece of timber, either a
solid piece with straight grain, or laminated with alternating grain, 3/4"
thick, and 7" in diameter for key hanger and 9" in diameter for teapot stand,
wall plaque and clock. |
|
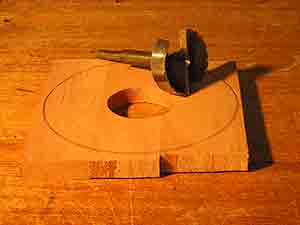
Step 2: Cut disc to required diameter, depending on project. Clock disc should have a hole drilled in the centre, 3 1/8" with a forstner bit. it is easier to drill the hole before cutting, making it easier to clamp. |
|
|
|
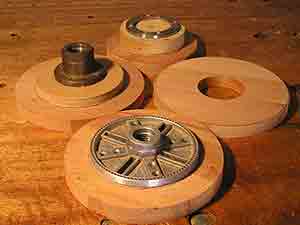
Step 3: Glue with about 4 spots of glue to a faceplate which has already had cardboard glued to it. I use white pva (photo) which is fine, as long as you use sharp tools, eliminating stress on the job while turning. For clock project simply mount in chuck to finish back of clock, and reverse to do face and edge. |
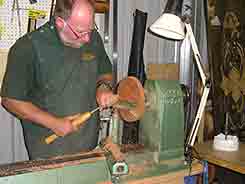
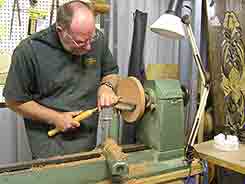
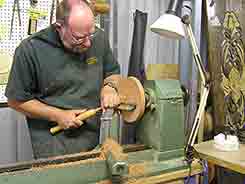
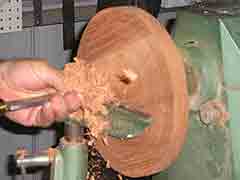
Step 4: Dress front face of project. I use a sharp
1/2" spindle gouge. |
|
|
|
|
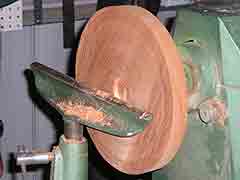
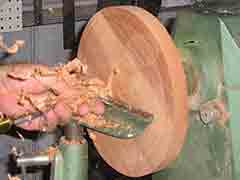
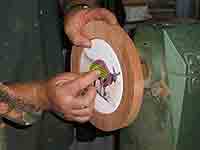
Step 5: With 3/4" square nose scraper, cut recess
for tile. (photos) Important - you must leave a small gap around the tile to allow for
wood movement, otherwise a tight fit will crack the tile. |
|
|
|
|
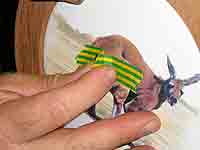
Hint - (photos
below) to make checking tile size easier, simply use a
piece of adhesive tape to make a handle for tile. |
|
|
|


|
Copyright(c) 2003 New England Woodturning All rights reserved. |